If you’re getting into software development or DevOps, you’ll hear about the term AWS constantly. This post covers what AWS actually is, why most developers pick it over alternatives, and a complete step-by-step walkthrough to create your free AWS account.
What is AWS?
AWS stands for Amazon Web Services, it is a cloud platform that provides on-demand computing resources (servers, storages, databases, networking etc.) over the internet.
Instead of buying and maintaining physical servers, you rent what you need from AWS and pay only for what you use. This model works for solo developers, startups, and large enterprises alike.
Why Choose AWS Over Other Providers?
There are three major cloud providers: AWS, Google Cloud (GCP), and Microsoft Azure.
Here’s why AWS tends to be the default choice for most developers:
Market Share and Community: AWS has the largest market share among cloud providers. That means more tutorials, Stack Overflow answers, and community support compared to GCP or Azure.
Service Depth: AWS offers 200+ services. Whether you need a basic VM (EC2), object storage (S3), serverless functions (Lambda), or managed databases (RDS) — it’s all there.
Free Tier: AWS provides a Free Tier that lets you use several services at no cost. It’s well-suited for learning, testing, and running small projects without paying anything upfront.
Industry Adoption: Most companies using cloud infrastructure run on AWS.
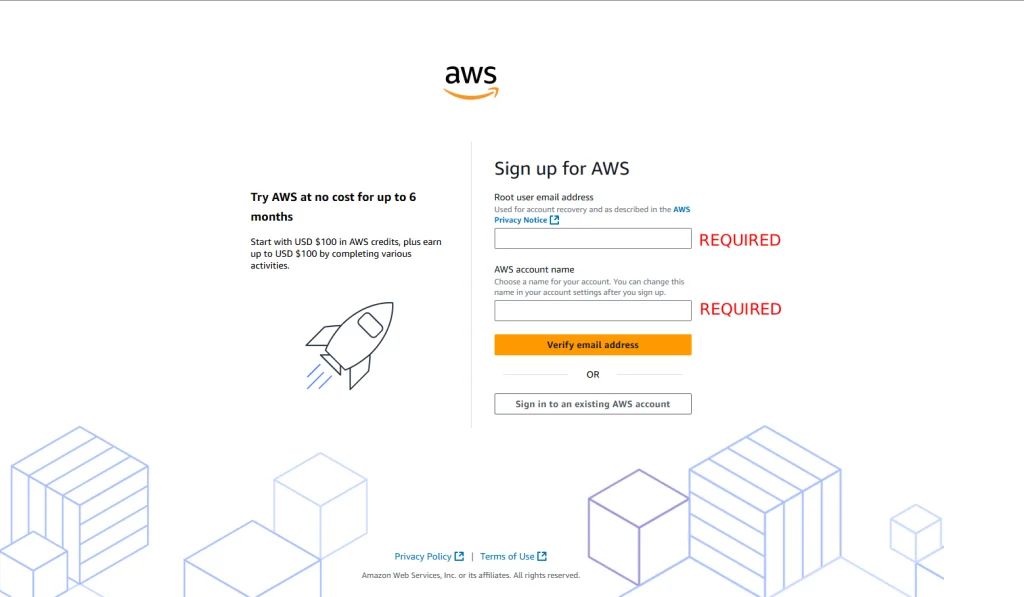
The root email is the primary admin email. It has unrestricted access to all AWS services and billing — treat it like a master key.
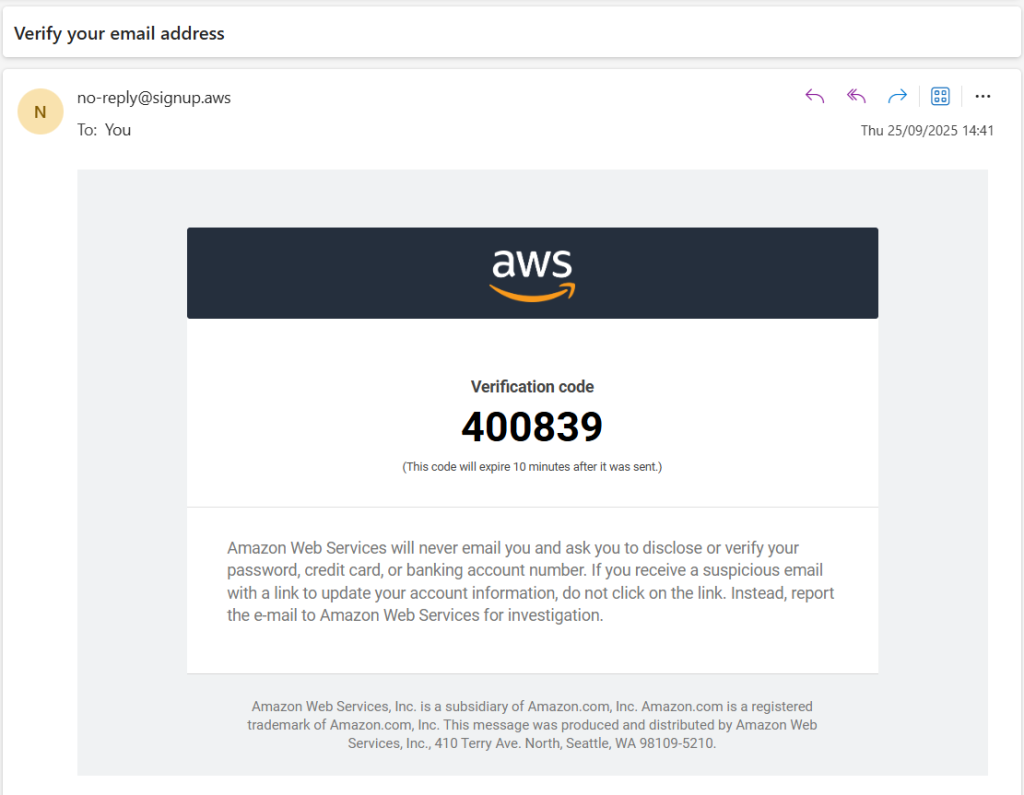
Enter your root email and an account name, then verify your email using the OTP sent to it.
3. Set a Root Password
Set a strong password. This is what you’ll use along with your root email to log in to the AWS Console.
3.1 Account Creation Mail
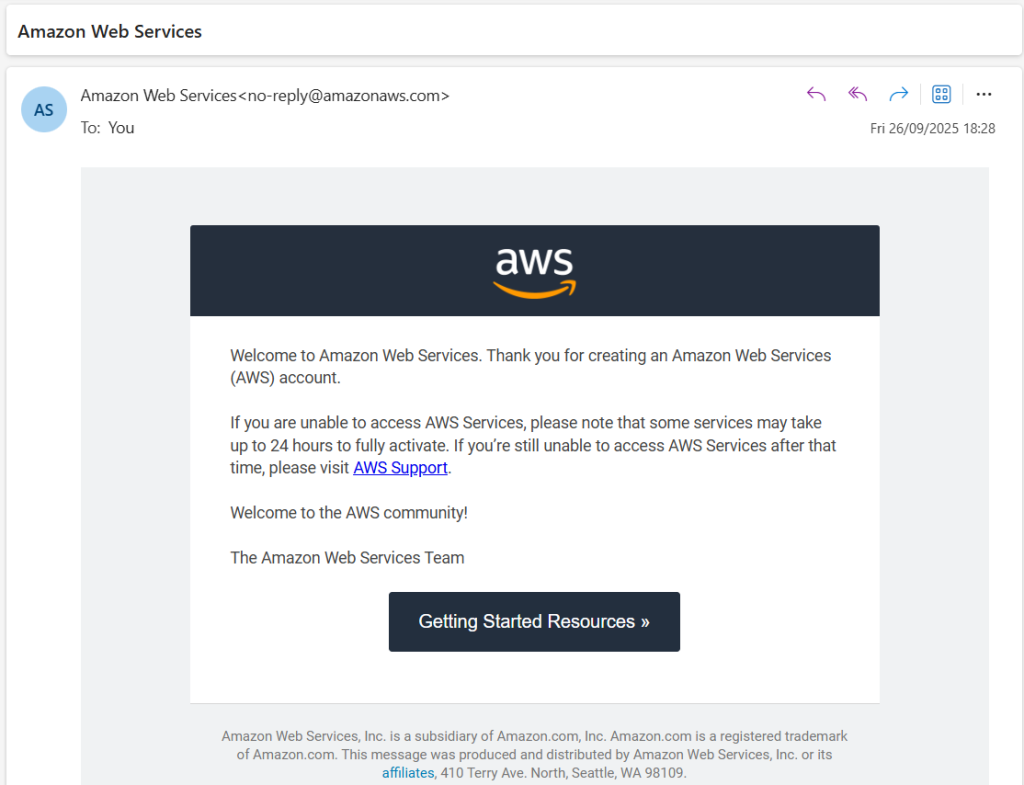
Once you proceed, you’ll receive an account creation confirmation email.
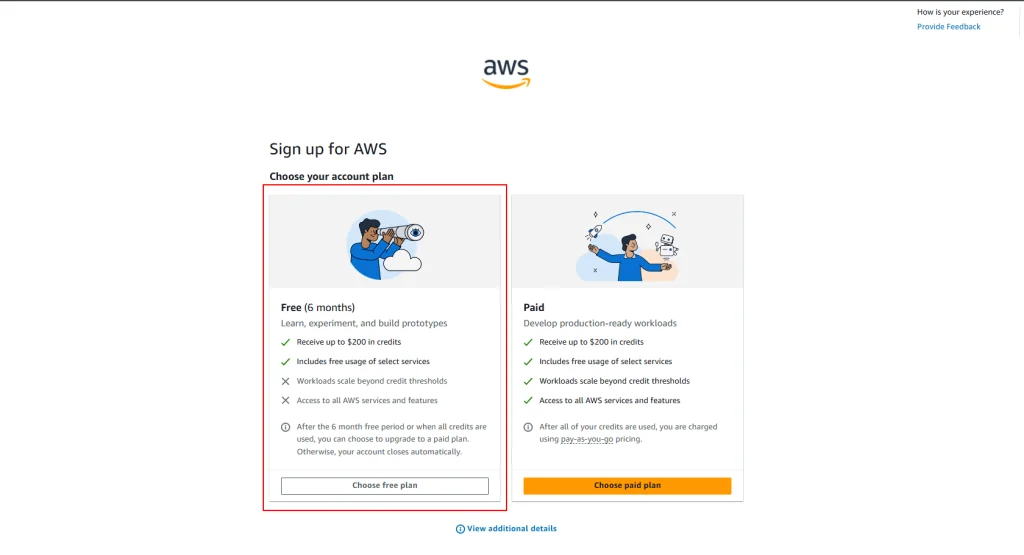
4. Select a Support Plan
AWS offers multiple plans. Select the Basic (Free) plan to proceed without any cost.
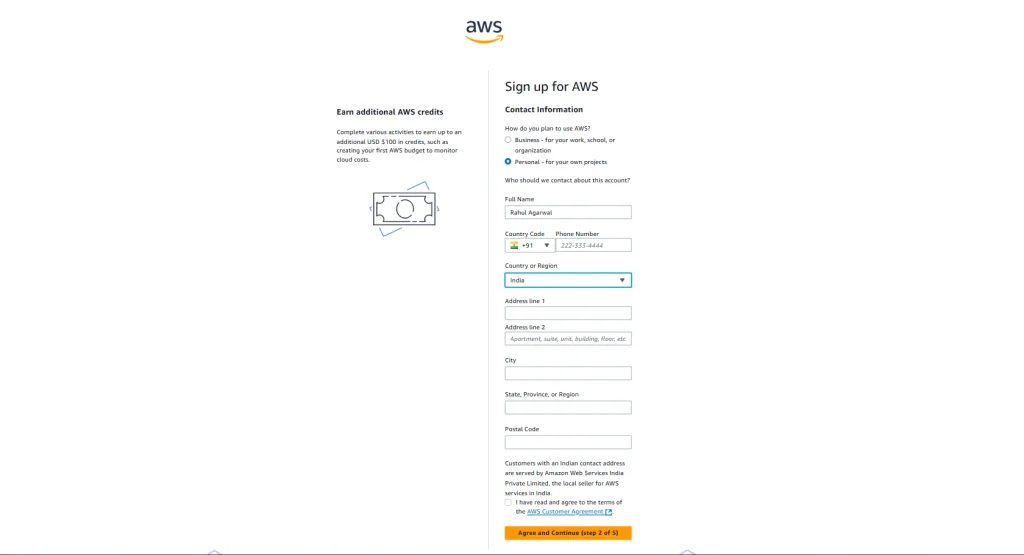
5. Enter Contact Information
AWS collects your name, contact number, and address. This is used for account verification and communication purposes.
6. Add a Payment Method
AWS requires a valid card to verify your identity and prevent fraudulent account creation. No charge is made at this step.
However, if you exceed Free Tier limits in the future, charges will be applied to this card. Keep track of your usage from the AWS Billing Dashboard.
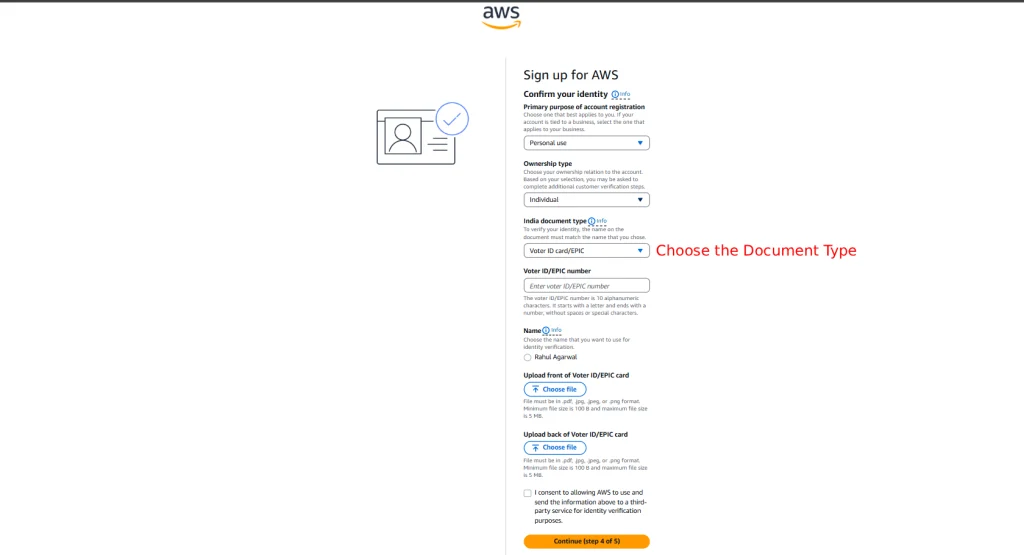
7. Identity Verification (India-specific)
AWS verifies your identity using a government-issued document. In India, the accepted documents are:
PAN Card
Driving License
Voter ID Card
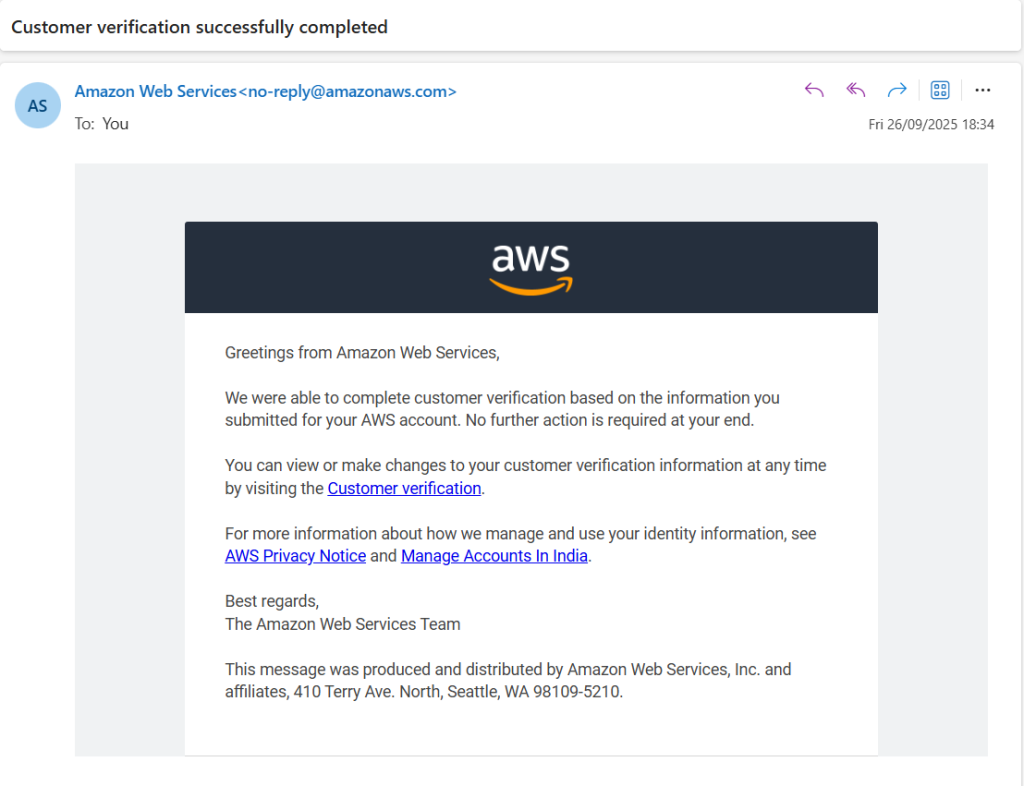
Upload the required document and wait for verification. You’ll receive an email once it’s approved.
Mail after uploading the documents.
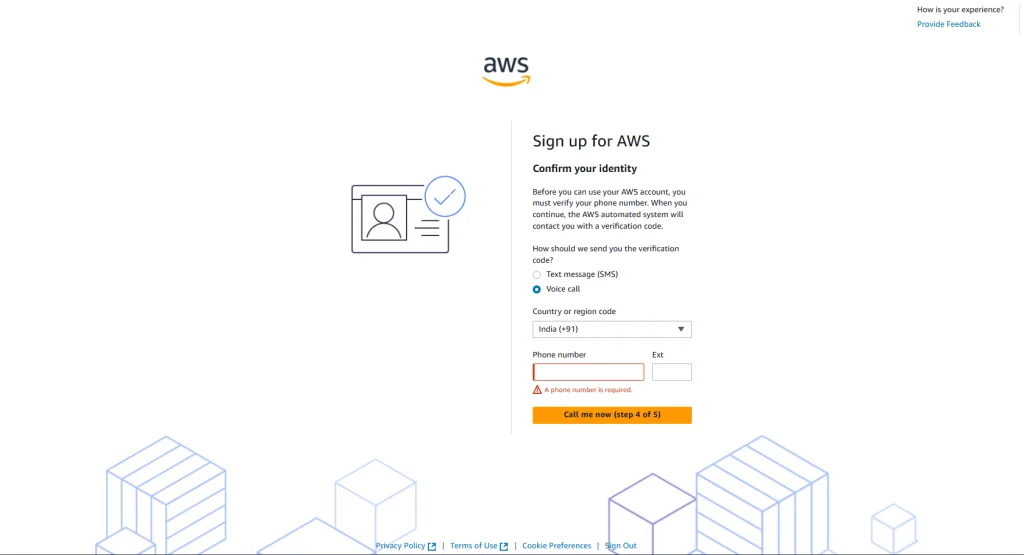
8. Mobile Number Verification
The final step verifies your mobile number via SMS or call. Enter the OTP received to complete verification.
Once done, AWS sends a final confirmation email. Your account is ready.
Conclusion
You now have a free AWS account set up with full access to the Free Tier services. Start by exploring EC2 for virtual servers or S3 for file storage. If you’re deploying a MERN project, check out Deploy a MERN Project on AWS EC2 and Install SSL Certificates on Ubuntu with Certbot to get your project live with HTTPS.
Keep an eye on your usage from the AWS Billing Dashboard to avoid unexpected charges.